Our technology, explained simply
What the equipment in our practice does, and how it may help your care. Technology supports your dentist’s judgement; it doesn’t replace it.
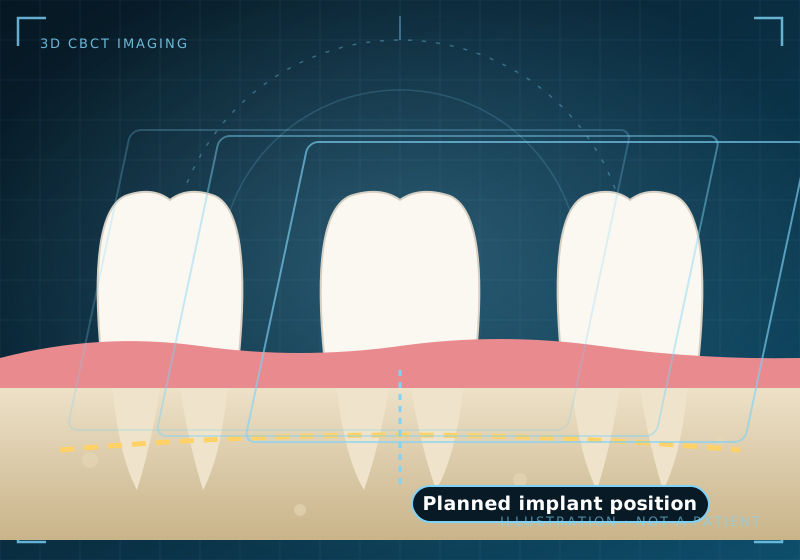
CBCT in four steps
A cone beam CT scan takes a series of images as the arm turns around your head. Software combines them into a 3D view that helps your dentist plan treatment such as implants and wisdom tooth removal.
Your dentist will only recommend a scan when the information is needed for your care, and will explain why.
Animated explainer 3D CBCT imaging: step by step
Text transcript
- You stand or sit still for a short scan
- The arm rotates around your head, taking a series of images
- Software combines them into a 3D view of teeth, bone and nerves
- Your dentist uses the 3D view to help plan treatment such as implants
Our equipment
The main equipment in our practice, from digital scanning and X-rays to same-day CEREC and sterilisation.
- PrimescanDentsply Sirona Primescan intraoral scanner
- Aoralscan EliteShining 3D Aoralscan Elite intraoral scanner with 3D face scanning
- CS 9600Carestream CS 9600 3D CBCT
- VistaScan Mini View 2.0Dürr Dental VistaScan Mini View 2.0 X-ray plate scanner with VistaSoft
- CEREC MC X5CEREC MC X5 milling unit
- CEREC MC XLCEREC MC XL milling unit
- Asiga ULTRAAsiga ULTRA 3D printer
- LightWalkerFotona LightWalker laser
- MELAtherm 10 EvolutionMELAG MELAtherm 10 Evolution washer-disinfector
- Vacuklav 43 B+ / 41 B+MELAG Vacuklav 43 B+ Evolution and 41 B+ Evolution autoclaves
- Ultrasonic cleanerUltrasonic instrument cleaner
Seeing more, so we can plan better
Imaging helps your dentist find problems early and plan treatment. Images are only taken when they’re clinically needed.

Carestream CS 9600
A cone beam CT system for 2D and 3D imaging, plus 3D facial and model scanning. You can be scanned seated or standing. 3D views of teeth, bone and nerves help plan implants and surgery.
KaVo DIAGNOcam
Uses near-infrared light rather than X-rays to light up the tooth and show decay or cracks on screen, so you can see what your dentist sees.
Leica M320 dental microscope
High-quality optics and LED lighting give a magnified, well-lit view for detailed work such as root canals and fine restorations.
CEREC Primescan
A powder-free intraoral scanner that captures a 3D model of your teeth, often replacing traditional impression trays.

Shining 3D Aoralscan Elite with 3D face scanning
An intraoral scanner on a mobile cart with a built-in 3D face scanner. It captures a 3D model of your teeth, often in place of traditional impression trays, and a 3D scan of your face. Together, these can help plan smile, crown and implant treatment, and let us show you a preview on screen.

Dürr Dental VistaScan Mini View 2.0 with VistaSoft
For small X-rays of your teeth, we use thin, reusable imaging plates instead of film. The VistaScan Mini View 2.0 reads each plate shortly after the X-ray is taken, and VistaSoft imaging software shows the image on screen, so your dentist can talk you through it. There’s no film to develop, and the images are kept in your digital record.

Designed and made on site
Many restorations, guides and appliances are designed and made in our practice.
Dentsply Sirona CEREC MC X5 and CEREC MC XL
In-house milling units that shape crowns, inlays, onlays and other restorations from solid blocks of ceramic or composite, so many restorations can be made and fitted in a single visit.
Asiga ULTRA 3D printer
A dental 3D printer from Asiga, an Australian manufacturer. It can be used to print dental models, implant surgical guides, occlusal splints and night guards in-house from your digital scan.
exocad, inLab CAD, CEREC Chairside, exoplan, R2GATE
Software used to design restorations and dentures and to plan implant positions digitally.
Treatment tools we use
EMS Prophylaxis Master (Airflow)
Uses warm water, air and fine powder to remove biofilm and stains during a clean.
Tekscan and MODJAW
Digital tools that record how your teeth meet and how your jaw moves, to help design restorations that suit your bite.
Platelet-rich fibrin (PRF)
Prepared from a small sample of your own blood, PRF may be used to support healing after some surgical procedures.
Fotona LightWalker
A dual-wavelength dental laser used for some cavity, gum and root canal treatments. About laser dentistry
How we keep every visit clean and safe
At Myaree Dental, every reusable instrument goes through the same six-step cycle after every patient, and we follow the same safety steps at every appointment.
The instrument cycle
Pre-treatment
At Myaree Dental, we spray or soak used instruments in an enzymatic solution straight after your treatment, so blood and saliva can’t dry on.
Cleaning
We clean instruments using ozonated water, our ultrasonic cleaner and our MELAG MELAtherm 10 Evolution washer-disinfector, which removes visible and microscopic debris and thermally disinfects them.
Rinsing and drying
We rinse and dry every instrument thoroughly, so moisture can’t cause rust or affect the sterile packaging.
Inspection and packaging
Our team checks each instrument under magnification for cleanliness and damage, then seals it in a sterilisation pouch with a chemical indicator.
Sterilisation
We sterilise every pack in our MELAG Vacuklav 43 B+ Evolution and Vacuklav 41 B+ Evolution Class B vacuum autoclaves, typically at 134°C. We record every cycle and test and validate our sterilisers regularly.
Storage
We store the sealed, dry, labelled pouches in a clean, dust-free area and open them in front of you at your appointment.
Every appointment
Hand hygiene and fresh PPE
We clean our hands and put on fresh gloves, a mask and eye protection for every patient.
Single-use items
We use single-use items, such as needles, once only and never reuse them.
Clean surfaces and barriers
We clean and disinfect surfaces between patients and cover high-touch areas with fresh barriers.
Treated waterlines
We treat and monitor the water used in our dental chairs to keep waterlines clean.
Sharps and clinical waste
We dispose of sharps and clinical waste according to Western Australian regulations.
Trained, vaccinated team
Our team is trained in infection control and keeps vaccinations up to date.
Infection control in detail
Why pre-treat? Blood and saliva are much harder to remove once they dry. Spraying or soaking instruments in an enzymatic solution straight after use keeps them moist and starts breaking down proteins before cleaning.
Why a Class B autoclave? Class B (vacuum) sterilisers pull air out of the chamber in several pulses before sterilising. Air pockets can stop steam reaching every surface, so removing them lets steam penetrate wrapped packs and hollow instruments such as handpieces. A typical cycle holds 134°C at about 2.1 bar for several minutes, then dries the load.
How we know a cycle worked. Each cycle’s temperature, pressure and time are recorded. Chemical indicators on every pouch change colour when exposed to the right conditions, and routine air-removal tests (such as a Helix test) check that steam can reach inside hollow items. Sterilisers are serviced and validated periodically.
Traceability. Pack labels and cycle records let us trace which sterilisation cycle each pack went through.
Your part. Let us know if you have an infectious illness, such as a cold, flu or COVID-19, before your visit; we may suggest a new time if your treatment can wait. You’re always welcome to ask how instruments are prepared for you.
Our equipment
Ultrasonic cleaner
Sound waves in a cleaning solution loosen debris from instruments, including from joints and serrations.
MELAG MELAtherm 10 Evolution
A thermal washer-disinfector that cleans instruments, disinfects them with hot water and dries them in an automated, recorded cycle.
MELAG Vacuklav 43 B+ Evolution and Vacuklav 41 B+ Evolution
Class B vacuum steam sterilisers (autoclaves). They remove air before sterilising with pressurised steam, typically at 134°C, so steam reaches wrapped instruments and hollow items such as handpieces.
Ozonated water (Tersano Lotus Pro)
Converts cold tap water into aqueous ozone. We use ozonated water as part of cleaning instruments, and for surface cleaning.
Standards we follow
Our infection control follows the ADA Guidelines for Infection Prevention and Control and AS/NZS 5369:2023. That’s the Australian Dental Association’s Guidelines for Infection Prevention and Control (Fifth Edition – Amended) and the Australian and New Zealand Standard AS/NZS 5369:2023, Reprocessing of reusable medical devices (including Amendment 1). The Dental Board of Australia expects every dental practitioner to use evidence-based, safe infection prevention and control. Our practice is accredited by QIP against the Dental Practice (Private) standards, which include infection control.

Equipment list provided by the practice, October 2026. Technology use depends on your treatment and suitability.
Our Technology: quick quiz
Three questions. General information only. Nothing you choose is stored or sent.
Your next step
Request an appointment online, call or text our team.